
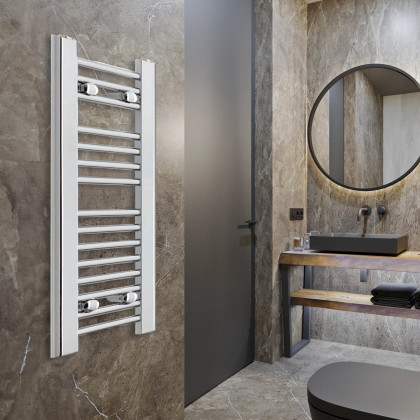
250mm Wide 800mm High Flat Chrome Towel Radiator
- Size
- 250 × 800mm (W × H)
- Pipe centres
- 200mm
- Finish
- Chrome
- Listed output
- 745 BTU/h · 218 W
Available to order
£59.99Inc. VATRadiator only · valves extra
View sizes & options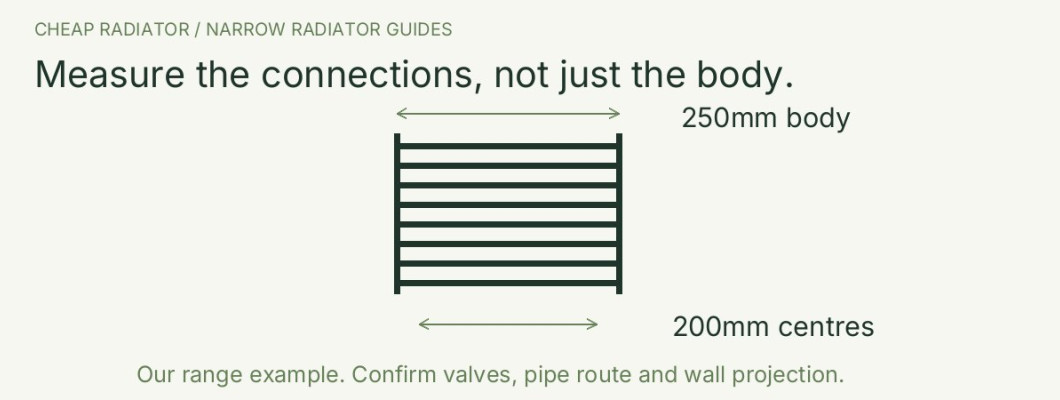
Quick answer: When replacing a narrow towel radiator, check the radiator connections, pipe route, valve dimensions, wall projection and bracket positions separately. Matching the old body width is only a starting point. In a tight space, even a small change in valve position can affect access and fit.
Take a clear photograph of the complete radiator and close photographs of both lower connections. Include nearby furniture or screens in the wider view. Keep body width and height separate from the measurements of valves and visible pipes.
Use our narrow towel radiator buying guide for the size shortlist. This replacement checklist is specifically about preserving usable space around a slim rail, rather than assuming a familiar width will make the installation straightforward.
Identify the radiator’s connection centre lines instead of measuring between the outer edges of valve heads. Record where the existing pipes emerge and whether they come from the floor or wall. If the connections are concealed, ask an installer to confirm the measurements without disturbing live plumbing.
Our towel radiator ranges list centres 50mm below body width: a 200mm rail has 150mm centres, a 250mm rail 200mm, a 300mm rail 250mm and a 350mm rail 300mm. That is range-specific connection spacing; the complete arrangement with valves still needs checking.
Moving between 200mm and 250mm changes the listed centres by 50mm in our ranges. Moving between 300mm and 350mm does the same. Do not assume that a small body-width change can be absorbed by the existing valves or pipework.
Compare the 200mm and 250mm options or the 300mm and 350mm options with the installer before ordering. A slightly narrower rail can still need more work if its connection position or projection is different.
Straight and angled valves describe different connection paths. The right choice depends on the pipe route and radiator connection direction, not on whether the rail is chrome or black. Compare actual drawings and dimensions rather than choosing from the accessory colour alone.
Make sure there is room to reach the controls and enough access for installation and future maintenance. Where a valve sits near a vanity unit, check the drawer travel at the valve’s actual height. A valve tucked behind furniture can make an otherwise tidy replacement inconvenient.
An installer may be able to reuse suitable valves, but condition, connections and dimensions must be confirmed. The same applies to brackets and fixing positions. Matching nominal width and height does not establish that bracket holes or tube positions match.
Our towel radiators include wall brackets, an air vent and a blanking plug; radiator-only purchases exclude valves. Suitable wall support and fixings still need assessment. Do not reuse damaged or unsuitable parts merely to avoid making new holes.
If changing finish, check the selected replacement model’s output and dimensions rather than treating it as a colour-only swap. You can compare 250mm chrome towel radiators with 250mm black towel radiators, or 350mm chrome towel radiators with 350mm black towel radiators. These links are range starting points, not a guarantee that every option is an identical replacement.
Check visible valve bodies and caps if you want coordinated accessories. A finish match is useful only after the connection arrangement has been settled.
A new rail that fits the old space may release a different amount of heat. Compare the exact replacement with room requirements, especially after changes to insulation or the heating system. If changing controls, Energy Saving Trust explains the different roles of room thermostats and radiator controls.
For an electric or dual-fuel proposal, confirm compatibility separately. Electrical Safety First recommends a registered electrician for bathroom electrical installation work. A compatible water connection does not confirm the electrical arrangement.
Share the product links, selected sizes and finishes, photographs and measurements. Ask them to confirm pipe alterations, valve access, wall support and output before installation is booked. That provides a clearer basis for the work than the old radiator’s name or overall width alone.
Practical answers to help with the choices covered in this guide.
Use it as a starting point only. Record connection centres, pipe route, valve dimensions, projection and bracket positions as separate checks.
Not necessarily. Different valves, connections and wall projection can change the complete installation. Ask the installer to compare assembled dimensions before assuming a fixed space saving.
Do not disturb live plumbing to obtain a measurement. Take clear photographs and ask the installer to identify and measure concealed or unclear connections.
Sources support the general heating and safety points linked above. Dimensions, supplied fittings and range examples refer to Cheap Radiator’s listings. Check the selected product and ask your installer to confirm suitability.
Explore chrome and black examples relevant to this guide, then check the exact size and listed heat output on the product page.
Available to order
£59.99Inc. VATRadiator only · valves extra
View sizes & options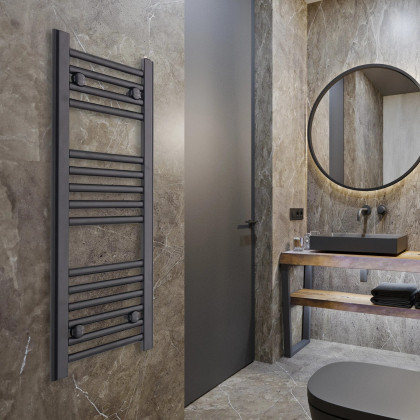
Available to order
£67.99Inc. VATRadiator only · valves extra
View sizes & options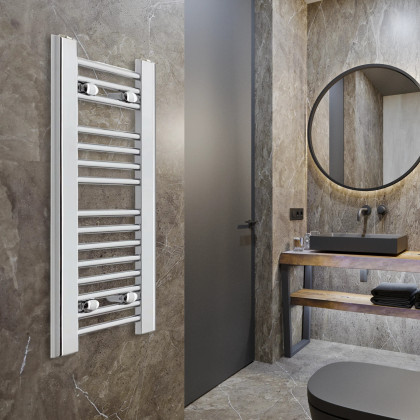
Available to order
£61.99Inc. VATRadiator only · valves extra
View sizes & options
Available to order
£67.99Inc. VATRadiator only · valves extra
View sizes & optionsPrices and availability come from the current catalogue. Examples may differ in height and output. Check the exact model’s full specification, rating conditions and installation suitability before choosing.