
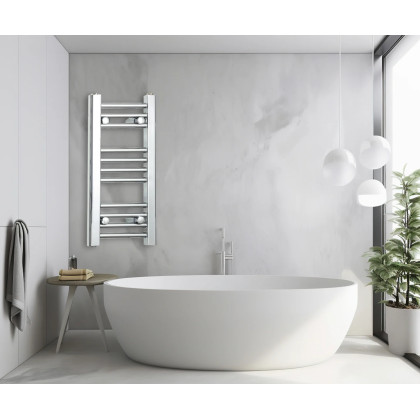
200mm Wide 600mm High Flat Chrome Towel Radiator
- Size
- 200 × 600mm (W × H)
- Pipe centres
- 150mm
- Finish
- Chrome
- Listed output
- 478 BTU/h · 140 W
Available to order
£51.99Inc. VATRadiator only · valves extra
View sizes & options
Part of our 200mm towel radiator buying guide.
Measure the complete installed arrangement, not just the 200mm radiator body, because the chosen valves, controls, pipe route and hanging towels can occupy additional space. A 260–300mm width is a useful planning example where fittings add 30–50mm per side, but the actual valve drawing must determine the final allowance.
Start at the finished wall surface, including tiles, skirting and pipe boxing. A gap between a vanity unit and door frame may narrow near the floor or change when a drawer is opened, so take measurements at the body, valve and towel positions rather than at one convenient height.
The checked 200mm ladder rails in this range have 150mm between their bottom connection centres, which is a different measurement from the 200mm body width. The centre of an existing pipe does not necessarily meet the radiator connection once a valve or adapter is fitted, so confirm the complete connection geometry.
Write both dimensions on your sketch: “200mm body” and “150mm radiator pipe centres”. Then mark the actual valve bodies and the direction of each pipe. Ask the installer whether the existing pipes can remain where they are; the 200mm versus 250mm comparison explains why a 50mm body-width change also changes connection spacing in these ranges.
A simple plan with 30mm of fittings beyond each side gives a total width of 200 + 30 + 30 = 260mm, while 50mm each side gives 300mm. These calculations illustrate how the fitted envelope grows; they do not certify a valve’s dimensions or guarantee installation and servicing access in that gap.
| Radiator body | Left allowance | Right allowance | Total example |
|---|---|---|---|
| 200mm | 30mm | 30mm | 260mm |
| 200mm | 50mm | 50mm | 300mm |
The selected fitting may sit below or behind the radiator rather than projecting the same distance sideways. Check the valve manufacturer’s drawing, the control’s movement and the working space needed to make the connection, adjust it later and remove the radiator for maintenance.
A straight, angled or corner valve can change the direction of the connection and the position of the control, so compare those drawings against the room sketch. A corner arrangement may keep a control closer to the wall than an alternative angled arrangement, but it is not automatically the smallest or correct choice.
Check the connection direction at the radiator and where the pipes rise from the floor or emerge from the wall. Keep the control reachable with a towel hanging down, and avoid positions that will be struck by a door handle or catch someone using a narrow walkway. The straight or angled valve guide covers the general selection checks.
The checked 200mm chrome listings give 75–95mm from the wall to the pipe centre and 90–110mm total radiator projection, subject to the exact product and bracket setting. Treat these as separate measurements from width, then include any farther-projecting controls and the space taken by towels during normal use.
Measure from the finished tile or wall face, not the studwork behind it. Check whether the skirting board changes the available route for floor pipes and whether a projecting sill, vanity top or cupboard prevents the rail or its fittings from sitting in the intended position.
A hand towel may fit neatly, while a bath towel needs folding or a vertical drop. Test your own towel and leave access to both valves. If the installation is to be electric or dual fuel, add the element and cable position to the sketch and have the electrician assess the proposed location.
Use a taped outline or cardboard template to test the rail with the bathroom door fully open, drawers extended and any shower screen moving through its normal travel. Include the valves and a folded towel in that test, because an empty radiator outline can appear to fit while the working installation remains awkward.
Check comfortable access to the basin and toilet, and consider who will reach the top rungs. On a new partition, agree the bracket positions and suitable support before boarding or tiling; our plasterboard wall fixing guide explains which details to discuss with the installer.
Once the complete fitted footprint has been checked, compare a few heights and finishes whose listed outputs can meet the room’s heating requirement at the intended system temperatures. Keep the wall sketch and selected valve drawings with the order details so the installer can check the exact products rather than a generic width description.
Use the 200mm towel radiator buying guide for the height and output comparison, or read whether a narrow rail can heat a bathroom when this will be the room’s only heater.
Compare 200mm chrome towel radiators and 200mm matt black towel radiators. Check radiator valves and towel radiator accessories against the exact model before ordering.
Huseyin Aras is a bathroom heating and product sourcing specialist with more than 18 years of hands-on experience. This planning guide brings together the product and installation questions customers should resolve with their supplier and installer before choosing a narrow towel radiator for a particular wall or bathroom.
Compare live 200mm-wide chrome examples in 600, 800 and 1000mm heights, then check the selected options and exact installation requirements.
Available to order
£51.99Inc. VATRadiator only · valves extra
View sizes & options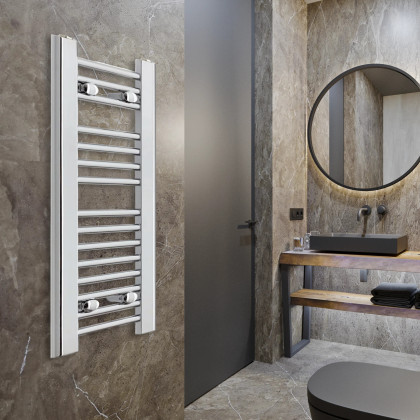
Available to order
£54.99Inc. VATRadiator only · valves extra
View sizes & options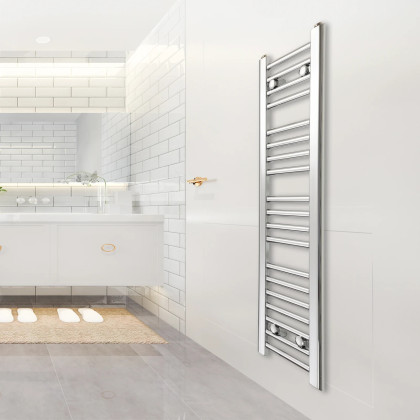
Available to order
£56.99Inc. VATRadiator only · valves extra
View sizes & optionsPrices and availability come from the current catalogue. Examples may differ in height and output. Check the exact model’s full specification, rating conditions and installation suitability before choosing.